> For the complete documentation index, see [llms.txt](https://docs.nitroapps.co/llms.txt). Markdown versions of documentation pages are available by appending `.md` to page URLs; this page is available as [Markdown](https://docs.nitroapps.co/fontify/faq/how-to-apply-a-font-to-all-body-text-on-your-store.md).
# How to apply a font to all body text on your store?
Usually, we should use two or three fonts on a site. One is for all headings and another one for the body text.
To make a font work for all mall body text, please follow the steps below:
**Step 1**: Click on the **Create new** button.
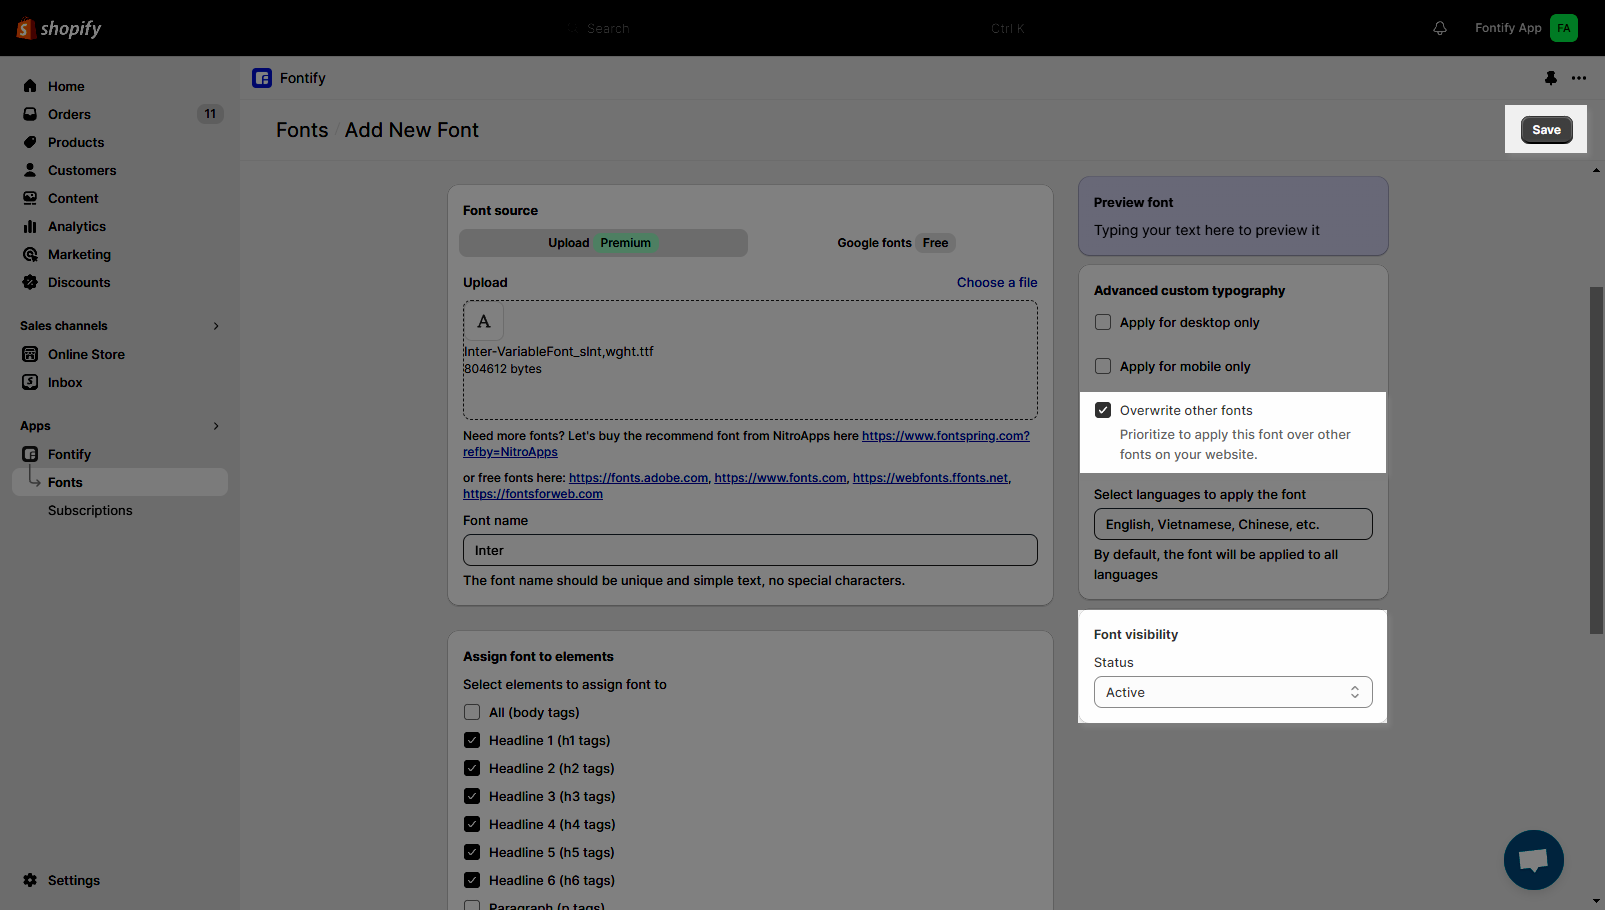
**Step 2**: Please **upload** your font to Fontify or **select** a Google font. Then enter the **font name.**
**Step 3:** On the **Assign font to Elements** tab, tick on the **Paragraph, Anchor link, and List** options. Also, please fill some tags in the **Custom Elements** box like the below image.
You can copy this block code:
```
div
span
input
option
button
```
**Step 4**: Tick the **Overwrite other fonts** checkbox and click the **Save** button.
All done, please wait for about 30 seconds and then reload your live site to check the font.
Please check the video below to get an easier understanding.
{% embed url="" %}